
If you’ve ever tried to merge two Google Drive accounts or move your files from an old email to a new one, you’ve probably hit a wall. Unlike moving files on your computer, Google doesn’t have a simple “Merge Accounts” button.
Whether you are graduating college, changing jobs, or just decluttering your digital life, moving your files can be tricky. If you do it wrong, you might lose your file organization or accidentally delete important data.
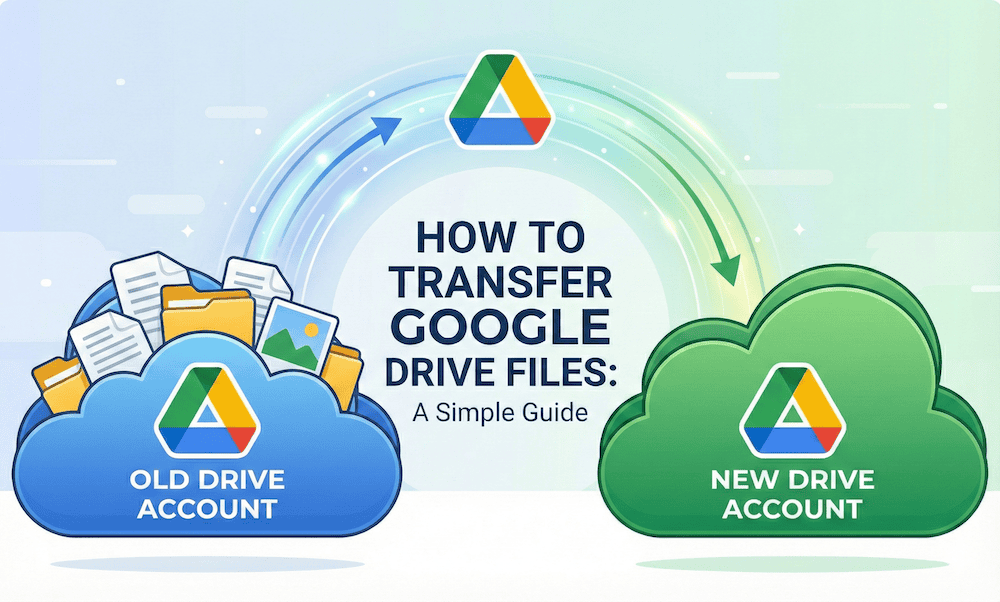
This guide breaks down the three easiest ways to move your data, ranging from free manual methods to automated tools.
How to Transfer Files Between Google Drive Accounts
Method 1: The “Share and Copy” Trick
Best for: Moving specific folders or a small number of files (e.g., under 10GB).
This is the quickest way to move files without downloading them to your computer first. The trick relies on a Google Drive feature called “Make a copy.” When you make a copy of a file, Google creates a brand new version that you own, completely separating it from the old account.
The Steps:
- Share the Folder: Log into your Old Account. Put all the files you want to move into one folder. Right-click that folder and “Share” it with your New Account email address.
- Open in New Account: Log into your New Account. Go to the “Shared with me” tab on the left sidebar. Open the folder you just shared.
- Make a Copy: Select the files inside (you can press
Ctrl + AorCmd + Ato select all). Right-click and choose “Make a copy.” - Move to Safety: The new copies will appear in your “My Drive.” Move them into a new folder immediately to keep them organized.
Important Warning: You generally cannot copy an entire folder at once using this method in the web browser; you have to open the folder and copy the files inside. If you try to copy the folder itself, Google usually creates a shortcut instead of a real copy.
Method 2: The “Download and Upload” (Google Takeout)
Best for: Moving an entire account with lots of data (50GB+).
If you have thousands of files, clicking “Make a copy” is too slow. The “Download and Upload” method is the most reliable free option, though it requires a good internet connection.
The Steps:
- Go to Google Takeout: Log into your Old Account and visit
takeout.google.com. - Select Drive: Click “Deselect all” and then check only the box for Drive.
- Export: Click “Next step” and choose to send the download link via email. Select “Export once.”
- Download: Google will email you ZIP files containing all your data. Download these to your computer and unzip them.
- Upload: Log into your New Account and upload the unzipped folders.
The Catch: When you download Google Docs, Sheets, or Slides, Google converts them into Microsoft Word, Excel, and PowerPoint files.1 You may lose some formatting during this conversion.
Method 3: The “Transfer Your Content” Tool (For Students)
Best for: Students graduating from a university.
If you are moving files from a school account (like yourname@university.edu) to a personal Gmail account, you might have access to a special “Transfer” tool that does the heavy lifting for you.
The Steps:
- Log into your school account.
- Visit
takeout.google.com/transfer. - Enter your personal Gmail address as the destination.
- Google will send a code to your personal email to verify it’s you. Enter the code, and the transfer will start.
This process happens in the background and can take up to a week, but it copies your email and Drive files automatically.2 Note that this only works for School-to-Personal transfers; it does not work for Personal-to-Personal.
Method 4: Use an Automated Tool (Paid)
Best for: People who want to save time and are willing to pay a small fee.
If you don’t want to deal with zip files or manual copying, third-party services can automate the move. Tools like VaultMe or MultCloud connect to both accounts and copy the files directly from cloud to cloud.
- Pros: They usually preserve your file organization and keep Google Docs in their original format (no conversion to Word).3
- Cons: These are paid services, typically charging a one-time fee based on how much data you have.
3 Common Mistakes to Avoid
- Don’t Trust “Shared with Me”: Many users see files in the “Shared with me” section and assume they are safe. They are not. If the original owner deletes those files, you lose access. You must copy them to your own “My Drive” to keep them.4
- Google Photos is Separate: Moving your Drive files does not move your Google Photos. You need to set up “Partner Sharing” in Google Photos to move your library.5
- Don’t Delete Too Soon: Never delete your old account immediately. Keep it open for at least a month after the move to ensure you didn’t miss any critical files or shared documents.