
Are you thinking about how to add a watermark to your Google Docs? Google Docs doesn’t offer any better solution for you to Insert Watermark in Google Doc. But there is a better method to add a watermark to your Google Docs using G suite products.
This tutorial is for you, It helps you to know how to insert a watermark in Google Docs. Adding a watermark to your Google Docs helps you to personalize your documents. With no delay, let’s go through the below steps to know the procedure.
Methods to insert watermark in Google Docs
Video Tutorial:
We provided this article in the form of a Video Tutorial for our reader’s convenience. If you are interested in reading, skip it for now and watch it after the completion of reading.
1.Using Google Docs:
In this section, you can find the detailed procedure on how to insert a watermark in Google Docs.
Total Time: 5 minutes
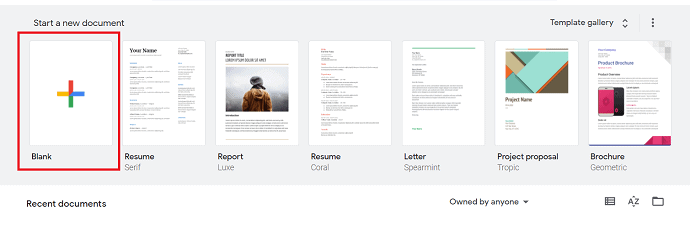
Step 1: Select the Blank Document
Visit the Google Docs official page and select the new document as “Blank”.
Step 2: Selection of Drawing
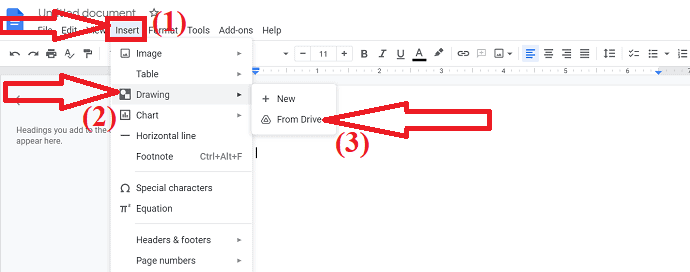
The new black document will be opened. Click on insert and select the Drawing from the drop-down menu. Select the New option from Drawing.
Step 3: Image insertion
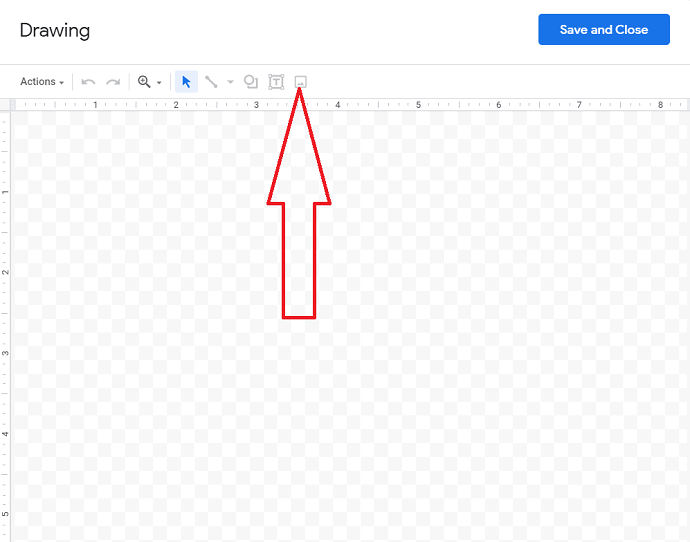
A drawing window will appear on the screen. Select the Image icon, insert image window will appear on the screen to upload the image. Otherwise, simply drag and drop the image on the Drawing window.
Step 4: Selection of Text box
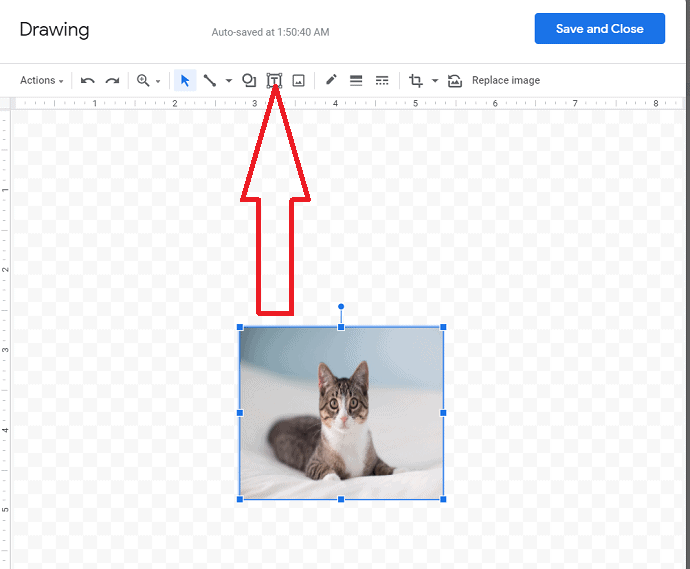
The selected image will appear on the screen. Resize and place the image as your wish. Select the Text Box icon. Click and drag the box up to the area you want.
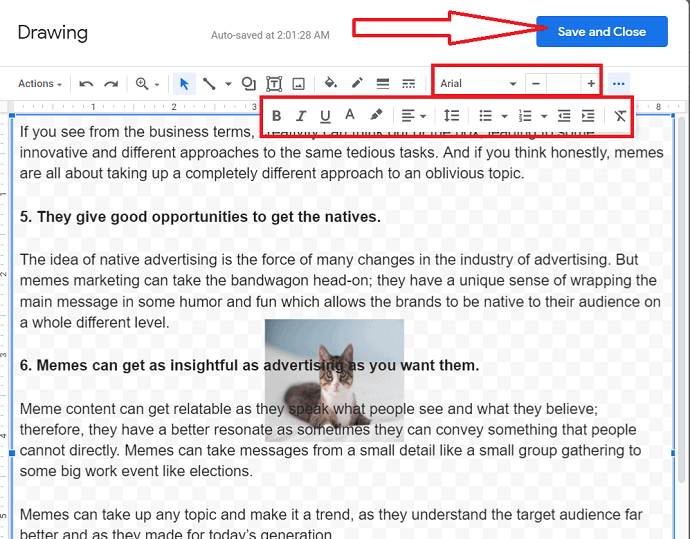
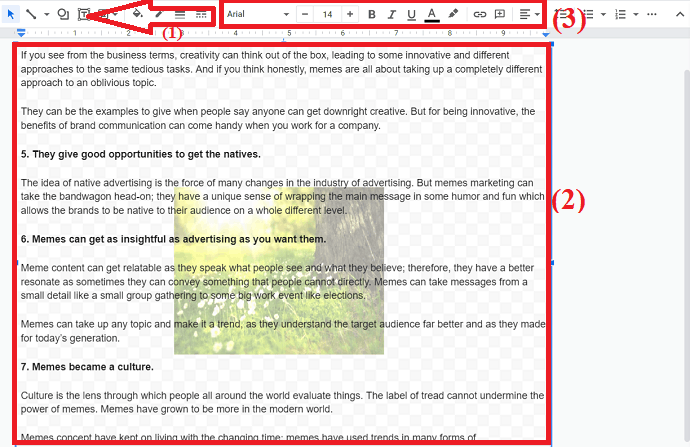
Step 5: Add and edit the text
Insert the text from the document in the text box. Select the font style, size, alignment, and more as you wish. Finally, click on the “Save and close” option at the top right.
Once you click on “save and close” the created drawing will display on the screen. To edit the text, double-tap on the text. Drawing window will appear on the screen. Make the changes you want and click on save and close.
2.Using Google Drawing:
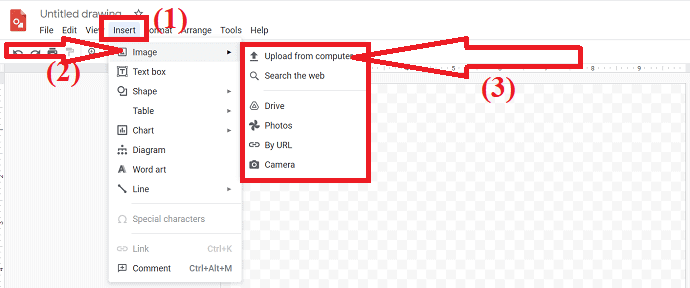
Step 1: Visit the Google Drawing official page using a search engine or click on this link. Tap on “Insert” at the top and select the image from the dropdown box. You will find several options, from that select the one you want to upload the image from.
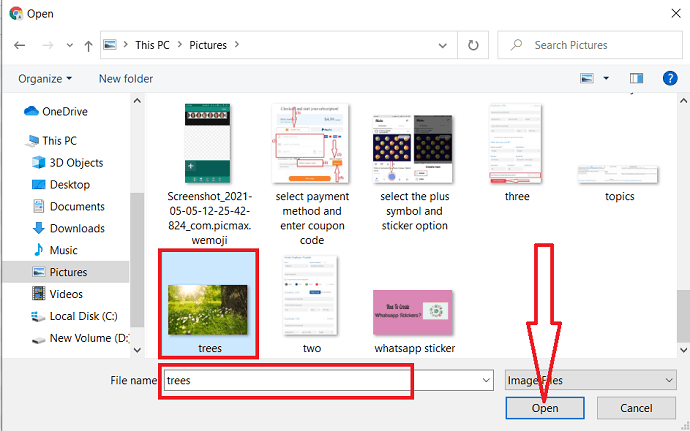
Step 2: Once you click on Upload file from the computer, a pop-up will be displayed on the screen from that select the image that you want to add as a watermark.
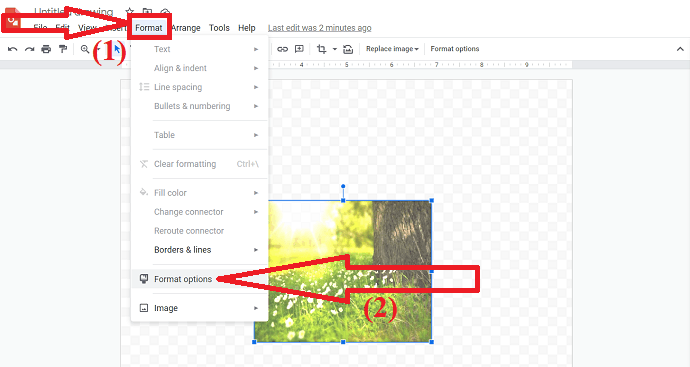
Step 3: The selected image will appear on the screen. Click on the “Format” at the top and select “Format options” from the drop-down box.
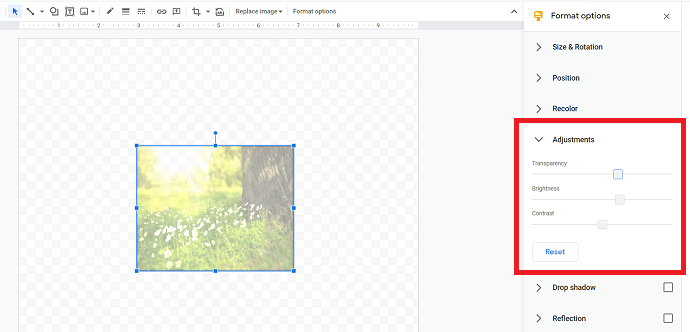
Step 4: You can observe different format options like Size & Rotation, Position, Recolor, Adjustments, Drop shadow, and Reflection. Select the “Adjustments” and increase the transparency level. So that your text would be visible over the watermark clearly.
You can made changes like size, position, color, and other by selecting their respective options.
Step 5: Select the “Text Box” from the top to insert the text and expand the box to the entire page. Click on the box and insert the text from your document. Select the font style and size as your wish.
Step 6: Now open Google Docs official page and select “Blank Document”.
Step 7: New blank document will be displayed on the screen. Click on the insert option and select the Drawing. Select from the Drive option under “Drawing”.
Step 8: Insert Drawing window will appear on the screen. Select the recently created drawing and click on “Select”.
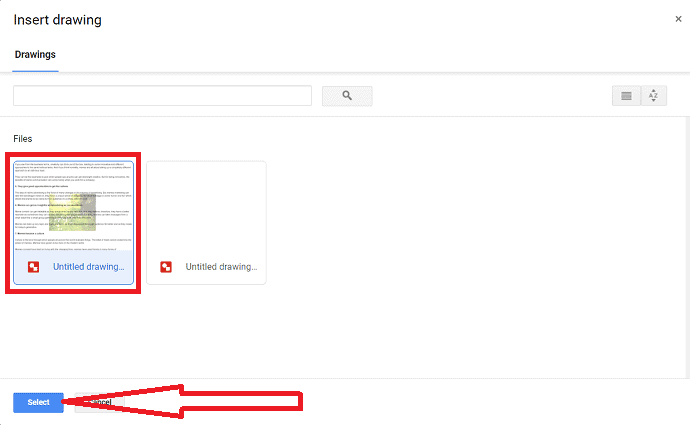
Another pop-up box will display on the screen. Select the “Link to source” option and click on “Insert”. The link to source option helps you to edit the document easily. The created document will appear on the screen.

To edit the text, open the linked drawing options at the top right of the drawing and select the “Open source” option. It will redirect you to the drawing page. Made the changes as you wish, return to the doc and click on the Update option just beside the linked drawing options.
- Related: A simple guide to insert and remove Watermark in Word documents
- Best 5 Free Writing Software Or Apps
Final thought
It is the best method to insert a watermark in Google Docs. Although it is very strenuous to work on large documents, it is the only solution that currently using to insert watermark in Google Docs.
I hope this tutorial, How To insert Watermark in Google Docs, helped you to add a watermark to your documents in Google Docs. If you find any better solution than this, let us know through the comment section. If you like this article, please share it and follow WhatVwant on Facebook, Twitter, and YouTube for more Technical tips.
Insert watermark in Google Doc – FAQ
Can I insert a watermark in Google Documents?
Yes. you can insert watermark in Google Documents.
How can I insert watermark in Google Docs?
Create drawing using Google drawing or else click on Insert option and select the Drawing from the dropdown box. Select the New option. Drawing window will display on the screen. Drag and drop the image. Select the “Text box”. Click and drag the box up to the area you want. Enter the text from your document and click on save and close option.
How to add text box over the image?
Select the Text box. Click and drag up to the area you want. and enter the text inside the text box.