
Want to Resize Image Without Losing Quality? It is possible. Here are the methods to enlarge or reduce image size on Windows PC, Mac, and Android.
When you want to reduce the size of your image, you can use two techniques compressing and resizing. But you need to know the difference between them.
Do Compressing Images affect quality?
Compressing images will affect the quality of your image. When you compress the image there is a chance that you will lose the quality. If you remove only unnecessary pixels, your image quality will remain the same. But that will not compress the image to a lesser size.
Does resizing an Image reduce quality?
It will reduce the quality a little bit. But when you properly resize the image, you might not recognize that quality reduction.
How Do I Resize an Image without losing quality?
If you compress images without reducing physical dimensions, you will lose the quality. A simple way to compress images without losing quality is to reduce its physical dimensions. When you resize an image, it automatically compresses the image size. That means you can compress your image without losing quality.
Of course, you can do anything to photo with Photoshop or Photoshop Elements. If you want to buy Photoshop or Photoshop elements buy from Adobe store. You may also consider Top 5 Free Photoshop alternatives or the premium alternatives like CyberLink Photo Director.
What is the difference between resizing and compress?
There is a slight difference between resizing and compress. When you change the image size without changing physical dimensions, it is called compression. When you change image size and physical dimensions, it is called resize. If you compress the image, you will get an image with less quality. If you resize the image, the quality of the image remains the same.
In many places, you will need to resize the image, like in job applications, or to fit images with your PC screen resolution. If you have taken photos with a high-end digital camera, it may take photos with a pixel size of 1440 X 2560 or 3560 X 1440. Here 1440 X 2560 means this photo has 1440 pixels in width and 2560 pixels in height. Before going to tell you about how to resize the image? First, you need to know two words.
1. Pixel:
It is the smallest addressable element in any image. When the number of pixels is increased, the image quality would be increased. It means that picture quality depends upon the number of pixels.
2. Resolution:
It is represented with “PPI(Pixels per inch)”. It directly relates to the size of the image. For example, consider an image with dimensions 6 inches X 4 inches. Consider camera resolution is 250 PPI, it means any photo taken from this camera will produce 250 pixels in an inch. Now the complete dimension of an image in pixels is 6*250 X 4*250 -> 1500 px X 1000 px. Now the image has 1500 pixels in width and 1000 pixels in height. If you want to resize the image, you just have to change its number of pixels in width as well as in height.
Another way is to resize an image is to change its resolution. For example, If you want to change the image size to 3 inches X 2 inches, You just need to change its resolution to 500 PPI. Like this, you can change the image to any dimension according to your need. So when you change the number of pixels or resolution, it does not has any impact on quality. If the concept is not clear you can just visit about resizing image and resolution. In this article, I am going to show you two ways to resize an image without losing quality.
Note: If you regularly work with photos, I suggest you go with Photoshop or CyberLink Photo Director.
How to Resize Image without losing Quality On Desktop
1. How to Resize Image In Paint Without losing Quality
Video tutorial:
when you get difficult to understand the steps through video, follow below steps
This section will tell you how to resize images without losing quality using MS Paint.
Total Time: 5 minutes
Step 1: Open image in Paint
Right click on any image. Click on edit. The image will be opened in the paint.
Step 2: Change the pixel size.
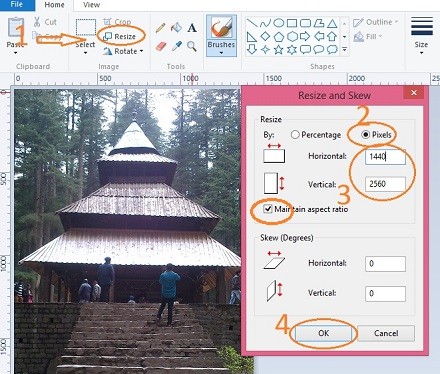
Click on “Resize” which is at the top of the window. “Resize and Skew” window will be opened. Check at pixels. It will show original pixels in horizontal and vertical boxes. Change the pixel size in horizontal, it will automatically change the pixel size in the vertical box. Make sure that “maintain aspect ratio” is checked. Next click on ok.
Now your image size, as well as physical dimensions, are changed without losing quality of the image.
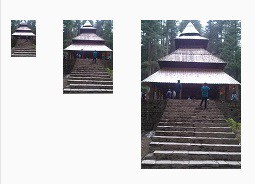
I will give you a simple example of how I have changed the image size. Just look at these three images. The actual size of this image is 1.13 MB and the actual physical dimension is 1440 px X 2560 px. I have opened this image in paint and typed 25 in the horizontal box from the above window.
Now its size became 3.03 KB and its physical dimensions are 25 X 37. In the second image, I have written 50 in the horizontal box, now its size is 5.94 KB and the physical dimensions are 50 X 74. In the third image, I have written 100 in the horizontal box, now its size became 13.9 KB and the physical dimensions are 100 X 149. Look at all three images, there is no quality reduction.
- Related: How to resize an image in paint 3D
2. Shrink Image Without losing Quality Using Photoshop elements
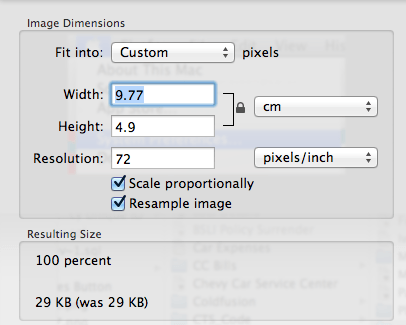
Open any image with adobe photoshop elements. Click on the option “image” in the top menu. Click on “resize image”.

Here you can see an option to change physical dimensions even in centimeters. You can also get an option to change the resolution. Just select the Percent option. Write down your required percentage in the Width and Height field.
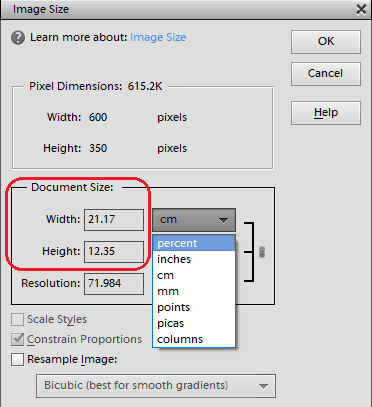
Remember one thing, if you want to reduce the size of the image, you need to increase the pixel size in resolution and vice versa. “Resample image option” is there to compress the image.
- You May Also Like: Photoshop Elements Vs Photoshop CC
- How to add watermark to photo in Photoshop Elements
3. How to change Image size Without losing Quality Using FastStone Photo Resizer?
FastStone is a free software through which you can resize and compress any image.

Visit the FastStone Photo Resizer website. You will see the above screen. Download any file. For quick installation, you can download the .exe file. You can also download portable files to carry them to another system. Install the software. Open software from the desktop icon.
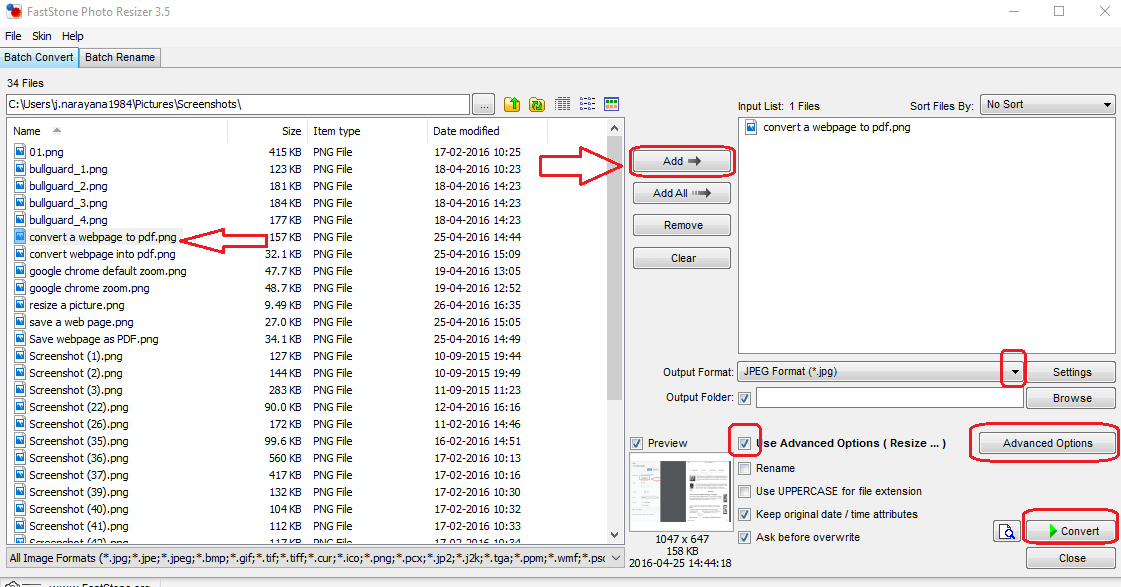
- Browse your computer folder in the left pane.
- Select an image.
- Click Add. You will see the selected image in the right pane.
- If you want, you can change the output format and output folder.
- Check the rectangular box left to Use Advanced Options.
Click Advanced Options. You will see another window. Check the Resize box and enter your required width and height pixels. Apply advanced settings and covert images. You will get an image with a reduced size.
How to Resize the images on Android?
Up to now, we have seen the methods to resize images on the desktop. Let us see what are the methods to resize images on Android in this section.
4. How to resize images using Lit Photo Compress & Resize App?
Lit Photo app Compress & Resize is one of the photo editing apps that supports resizing an image or group of images. It is available for android mobiles. In this method, we are going to see how to resize the image by following simple steps.
Step 1: Install the Lit Photo app from the Google Play Store

The first and foremost thing that you need to do is, install the Lit Photo Compress & Resize app from the Google Play Store.
Step 2: Launch the app and grant the permission
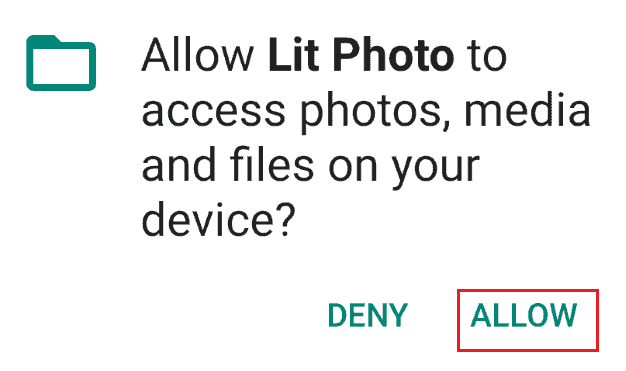
Once you install the app from the google play store, click on it to launch on your android phone.
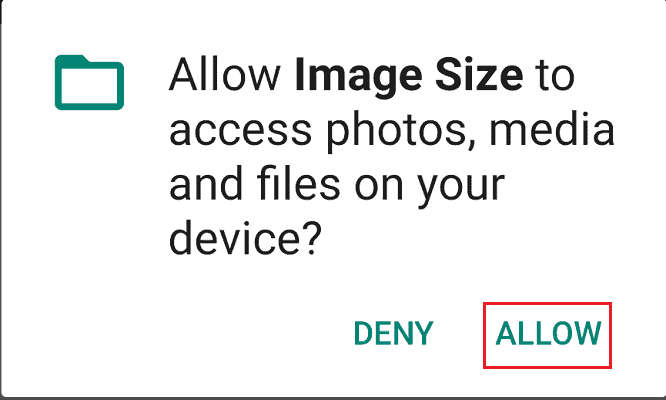
Once you launch, it asks you to give permission to access the photos, media, etc. Click on the Allow option. If you previously gave all permissions immediately after the installing app then it won’t ask you again in this step.
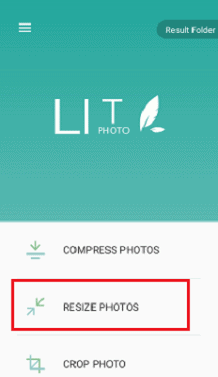
We want to resize the image so now click on the resize photos option.
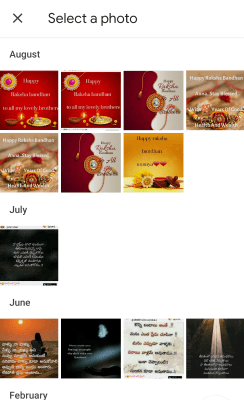
Step 3: Select the photos to resize
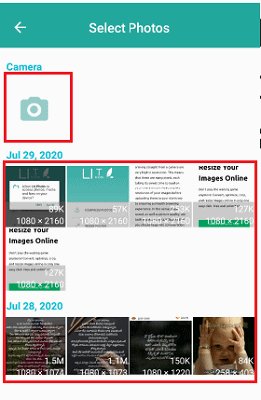
Once you click on the resize photos option then it opens a screen to select one or more photos. You can select the photo by taking a photo instantly using the camera or select any photo which previously stored in your Android phone. To select stored photos just click on it, then it shows a blue color tick mark on that image.
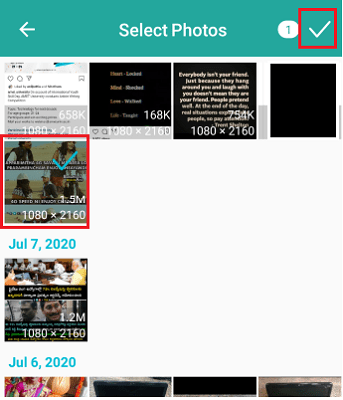
Then click on the white color tick mark on the top of the screen. With this, the photo is selected to resize operation.
Step 4: Set the measurements for resizing
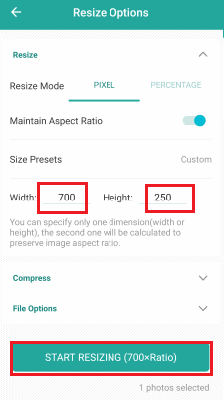
Now, you will get a screen on your Phone that showing some options like Pixel, Percentage that we need to change the image in terms of. Here we are going to resizing the image in terms of pixels. So click on the Pixel, in that you will find some more options for better-resized images like maintain the aspect ratio.
If you enable the maintain aspect ratio then you need to change anyone parameter of either width or height of the respective image. But if you disable that then you need to change both width and height parameters of the selected image. Now give the parameter values as per your requirement.
Step 5: Click on Start Resizing option
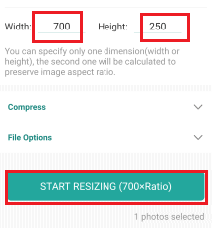
Once you gave the values then click on the “Start Resizing” option which is followed by width × height (this format appears if you disable aspect ratio option) or width × ratio (this format appears if you enable the aspect ratio option) within the pair of brackets.
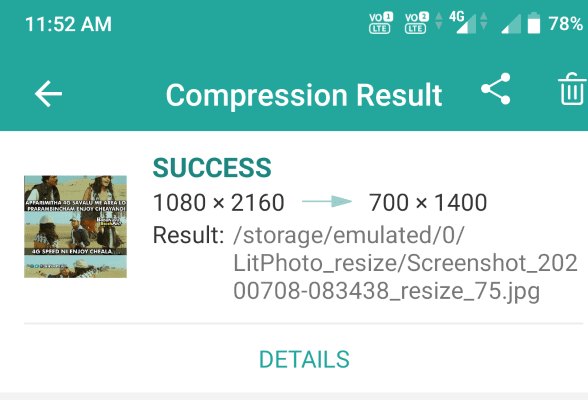
Once you click on start resizing option then the image will be resized to your specified measurement values. You can see the resized image width, height values along with the original image width, and height dimensions.
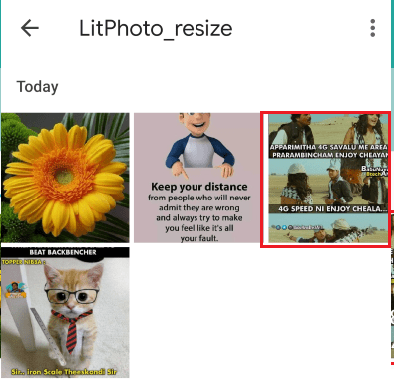
To view resized images click on the “Result Folder” option.

There you can view the images which you resized.
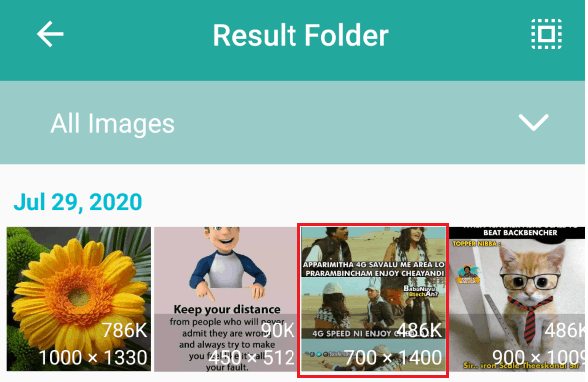
These appear in the phone gallery also in the LitPhoto_resize folder.
These are steps to be followed to resize images using Lit Photo Compress & Resize app.
5. How to resize images using Image Size – Photo Resizer app?
Image Size – Photo Resizer android application is one more possibility that is used to resize the image without losing the quality. Let us see what are the steps to be followed to resize images using this Image Size – Photo Resizer app.
Step 1: Install the Image Size app into your android phone
The first thing you need to do is, install the Image Size – Photo Resizer app from the Google Play Store. It is available free for all android users. So install it into your device.
Step 2: Launch the app and give permissions
After the successful installation, click on it to launch on your Android phone. Now it asks permission to access the Photos, media files on your device. Click on the Allow option to give permissions.
Step 3: Select the image

Now you need to select the image which you need to resize. To select an image, click on the gallery symbol (first symbol from the right side) at the top corner of the screen.
Now it opens the gallery of your Android in which all the images are stored. Select an image as you need.
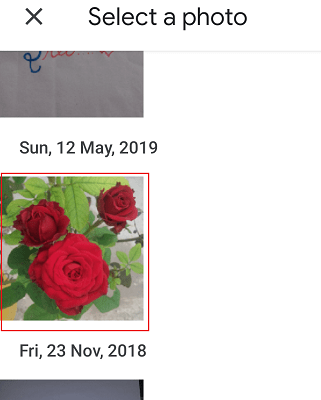
You can also resize the image which is not stored on the android also with the camera option which takes the photo instantly whenever required. This camera option is available just beside (left side) the gallery option.
With this step, the image which you need to resize will display on the screen.
Step 4: Mention the dimensions for the image
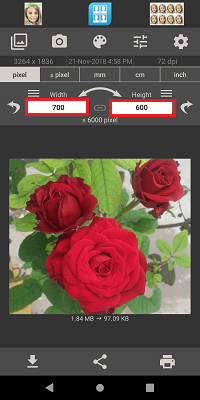
Now mention the dimensions for the image as per your requirement. The dimensions can be two values one is width, another is height. Mention both values. If you want, you can select any one values from the list of proportional values that are displayed when you click on the three horizontal line symbol present at the top of width or height.
Step 5: Download or Share the resized image
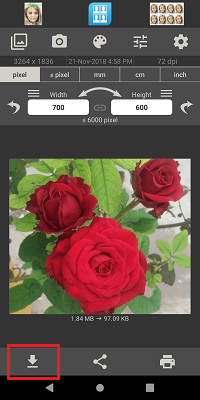
Now you should either download or share the resized image. You can also have print option for the resized image. You can select any option as per your need.
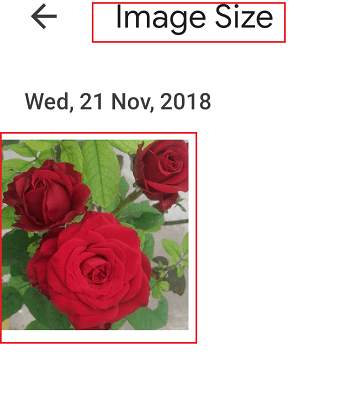
If you click on the download option then the image is shown in the gallery within a folder namely “Image Size”. There under properties, you can check the image size.
These are the steps to be followed to resize image using Image Size – Photo Resizer app.
- Also read: How to Change Gmail Background Image or Theme or Color
- How to Create a New Yahoo Mail Account (With Images)
6. How to enlarge or reduce photo size on Android using Photo & Picture Resizer application?
There is one more Android application that offers the resizing operation of images. Follow the below steps to resize the images using the Photo & Picture Resizer application
Step 1: Install the Photo & Picture Resizer app from the Google Play Store
The first thing you need to do is, install the Photo & Picture Resizer app from the Google Play Store. It is a free app. So, you don’t need to pay any money.
Step 2: Give permissions to the app
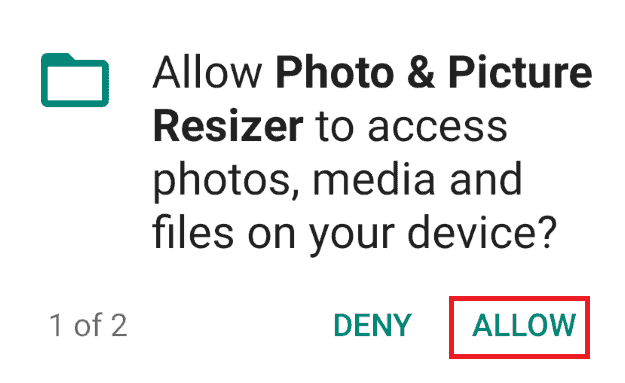
When you install it and launch the app it asks you to give permission to access media files of your Android to perform the required task. So click on the Allow option at the bottom of the screen.
Step 3: Select the photos to resize
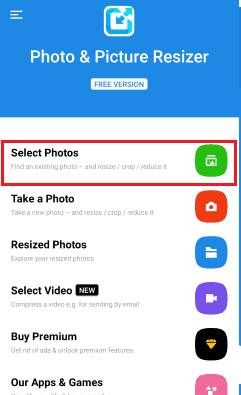
Once you give permissions to the app, then the app will launch the home screen as shown in the above image. In the first option itself, you can see select photos. So select images (photos) to resize them.
You will see one more option to select the images which are not stored on the Android storage. This can be enabled by the camera option that takes the image instantly when you click on it.
If you want to resize the image, which is stored in the Android, then click on Select Photos option.
The image which you want to resize will be displayed on the screen once you select it. Click on the Resize option.
Step 4: Select the dimensions
When you click on the resize option, it shows the dimensions which you want to resize in terms of percentages and in terms of values according to width and height.
Select any one dimension as per your requirement and then the image will be resized automatically to that specified dimension. After the resize it will show up on the screen as shown in the image.
Step 5: View the resized images on your Android

Once the resize process is completed then you can view the resized images on your Android.
To view the resized images on the Android gallery go to the PhotoResizer folder in that you will see all the images which you previously resized using the Photo & Picture Resizer app. You can also view them on the app itself. Click on the Resized Photos option, in which you can see all the images which you previously resized.
These are the steps to be followed to resize the images using Photo & Picture Resizer app.
7. How to resize images using Resize Me app?
Follow the below steps to resize images using Resize me app.
Step 1: Install the Resize Me! Photo & Picture resizer app from the Google Play Store
The first and foremost thing you need to do is install the Resize Me! Photo & Picture resizer app from Google Play Store. It is a free app so you don’t need to pay any money for installing it.
Step 2: Give permissions to the app
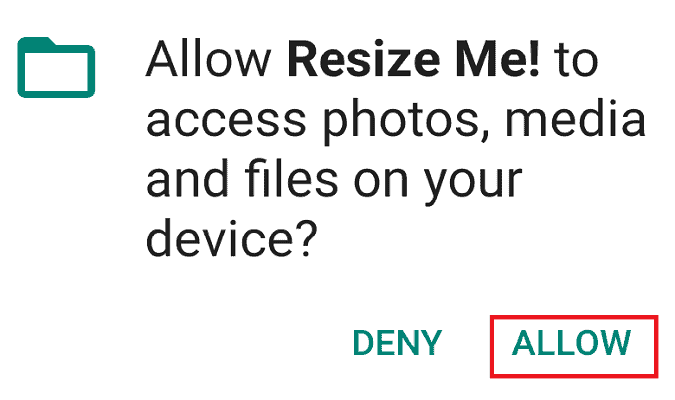
When you install and launch the app it asks you to give permission to access media files of your Android. So click on the Allow option at the bottom of the screen.
Step 3: Select the photo which you want to resize
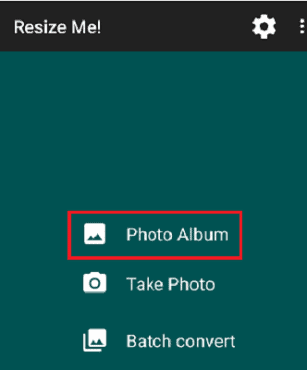
Once you give permission to the app, then on the home screen, it shows mainly three options Photo Album, Take Photo, and Batch convert. If you want to resize the image, which is stored on your Android then click on the photo album. Otherwise, click on the camera option to take a photo.
If there is a need to resize a batch of images then click on the batch convert option.
With this step, the photos, which you want to resize will be shown on the screen.
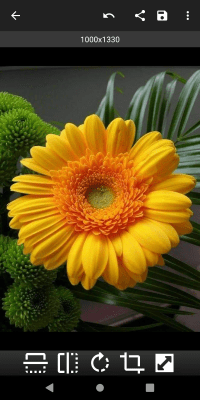
Step 4: Click on the resize option and select the dimensions
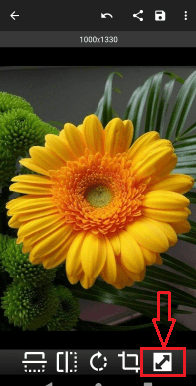
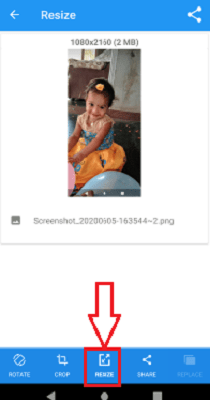
When you select the photo, at the bottom of that photo you can see options for editing that. Click on the Resize option, which is shown by a cross-folded double-headed arrow.
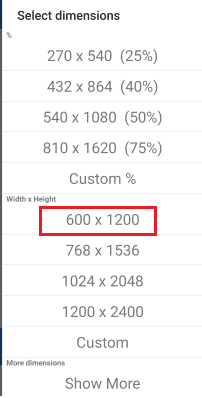
Once you click on the resize option, then it shows a screen with some recommended default dimensions.

Select any one dimension as your wish. Then the image will be resized to that size automatically.
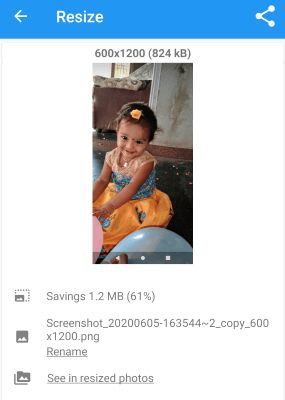
Step 5: Click on Save and view the resized image
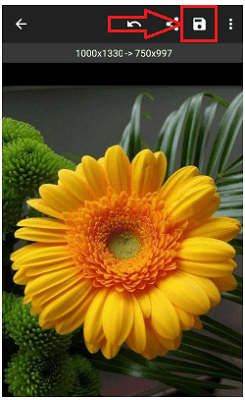
Once you select any one dimension, then on the screen along with that image, it shows the original dimensions and to which you want to change the image. Now click on the Save option at the top of the screen.
Once you save the photo you can view it on your Android gallery. To view resized image on your Android, click on the XnResize folder, there you can view all the resized images which you resized using this Resize Me! Photo & Picture resizer app.
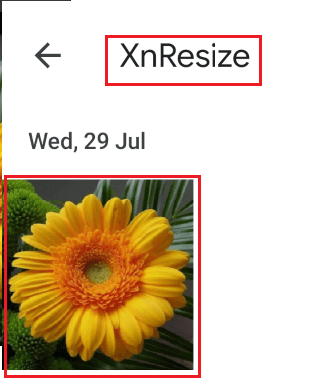
These are the steps to be followed to resize images using the Resize Me! Photo & Picture resizer app.
8. How to resize images using Photo Compress 2.0 app?
Photo Compress 2.0 is an excellent app that resizes images without decreasing the quality of the image. Let us see what are the steps to be followed to resize images using this Photo Compress 2.0 app.
Step 1: Install the Photo Compress 2.0 app from Google Play Store
The first and foremost thing you need to do is, install the PhotoCompress 2.0 application from Google Play Store. It is a free app so you don’t need to pay any money for installing it.
Step 2: Select the image to perform resize operation
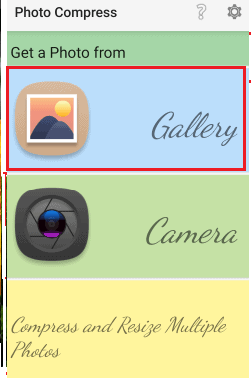
After the successful installation, click on the app to launch it on the screen. You can see two options for selecting an image those are select an image from the gallery or by using a camera.
Here I am selecting an image from the gallery. So click on the gallery option. When you click on the gallery option, then the images stored on the phone will be open on the screen. Select an image as you wish and then click on it.
Step 3: Click on resize image option
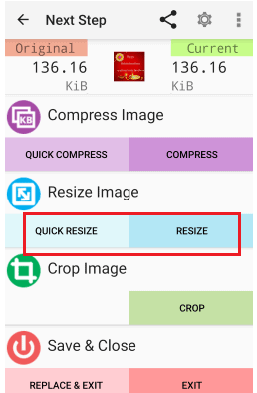
Now the next step screen will open as shown in the image. In The Next Step Screen, You can see mainly four options Compress image, Resize image, Crop image, Etc. We need to resize the image, so click on the Resize image option.
Step 4: Give dimensions for Resizing image
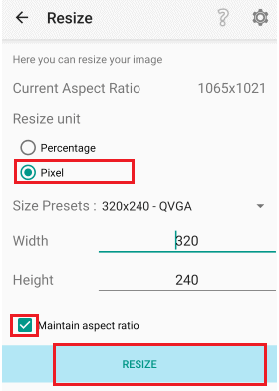
In the resize image section, you can see mainly two options you need to set. One is the Resize Unit and Size presets. In the resize unit section select pixel and in the Size presets section select the dimensions, which you need to apply to the image. This can be done by clicking on the down faced arrow symbol present beside the Size presets option.
Make sure that the maintain aspect ratio box is checked (which means enabled). Now click the Resize option which is present at the bottom of the screen.
With these steps the image can be resized to mentioned dimensions.
Step 5: View the resized image on gallery
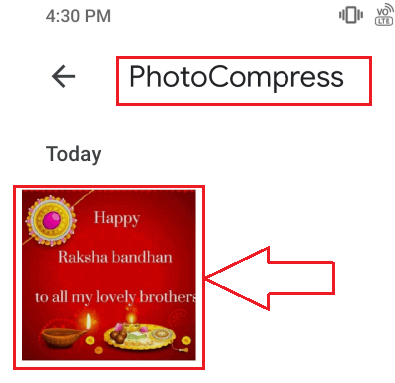
To view the resized image in the gallery click on PhotoCompress folder. In that, you can see the image which you resized.
These are the simplest steps to resize image using Photo Compress 2.0 app.
9. How to Resize image on Mac Using Preview Application?
Below are the steps useful to resize the image:
1). Preview app in Mac is the best image editor to edit the images to resize to the required.
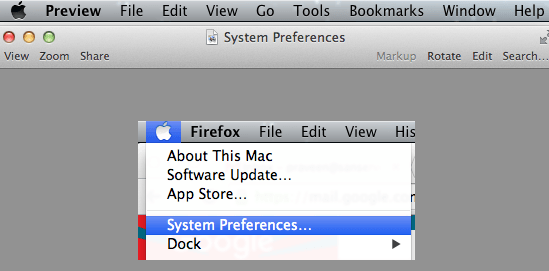
2). The app can be opened through the spotlight search, typing for preview in spotlight search and opening it.
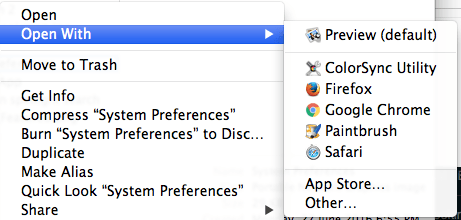
3). Select the image that has to be edited and open with the ‘Preview (default) app.
4) Then the image will be opened in the preview window with all the options available in menu bar.
5) Click on the Tools in the menu bar and select the ‘Adjust Size’ option.

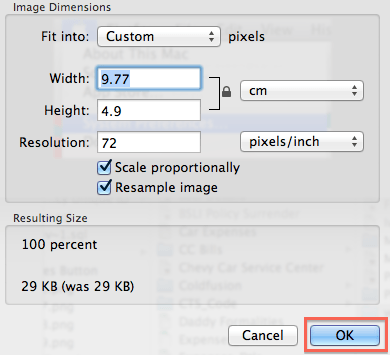
6) It will open the Image dimensions dialog or resize dialog that provides you the option to resize the image.
7) This supports variety of measurement units like pixels, inches, cm, mm, points etc.
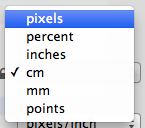
8) Here you will have the options to fit the image into specific pixels as shown in the below screenshot. You can directly choose the available dimensions (width*height) pixels from the options available.
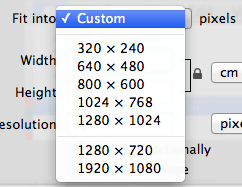
9) If the dimensions available not fit to your size, then select the custom and enter the values manually in the Width & Height text boxes. Select the measurement unit from the selection box.
10) Once the sizing has done, click on the OK button to save the changes and that is done!!
Conclusion
It is simple and better to use MS Paint to resize images. If you regularly work with photos, I suggest you go with Photoshop or CyberLink Photo Director.
Thank you for visiting my article on how to Resize image without losing quality. If you like this blog, Please follow us on Facebook and Twitter. And share this tutorial with your friends. Subscribe to whatVwant channel on YouTube for regular updates.
For those who want to resize an image, I would recommend reading this article. It will save you time.
Thank you so much! I am simply trying to “compress” several photos so I can embed them in the text of an email I am sending to, perhaps, several different people. I appreciate your simple, straight-forward approach and that you included the file size in your example. Perhaps not here, but somewhere I read that saving in png format may also help (I have yet to try) but I notice that Google Drive (which I’m trying to avoid for “simplicity”) uses that format so I have yet to play with the options. I am also learning about settings on my camera that can help – still in progress!
Obviously not geeky, Jim
Thanks for the useful article. But if there is any more intelligent method to enlarge images? Like AI Image Enlarger?
Much Helpful, I’m using Microsoft Office 2010, Image Tool to edit my images.
Thanks for the article. Really helpful