Mac Dock is a bar with many icons at the very bottom of Mac home screen. There will be many numbers of icons in it when you first enter into Mac. The dock is one of the important section to understand on Mac. This tutorial will give you a simple guide about Mac dock and its sections. You will also learn how to customize the dock.
Mac Dock Sections
The Dock of Mac is split-ed into two sections by very thin vertical line that separates the sections. Each section has its own use.

Application Section
- 1. The section that is left will have all the application icons. Some of the application icons are Finder, Text Edit, Notes & Launchpad, etc.
- 2. Suppose if any application is running already, you can notice a black triangle beneath its icon. In this scenario, clicking the icon will bring the application to the front.
- 3. Suppose if any application opens by you that does not have the icon present on the Dock, then the application icon (temporary) will appear at the end of the application section and it disappears when you quit the application.
- 4. The icons can be added to this section in two ways.
- Method 1: Just drag the application from the Finder and place it in the application section of the Dock.
- Method 2: When you open the application, a temporary icon will appear on the Dock. Apply Control + click on the temporary icon of running application and select the option ‘Keep in Dock’. This will hold and keep the icon on Dock even after you quit the application.
- 5. In order to remove the icon, just drag it from Dock and place it anywhere on the screen as you wish. Then the icon will disappear in seconds.
Document/Window Section
This is the section right of separation line which will be used for two purposes.
1. Here File and Folder links can be placed.
2. Minimized windows will also be placed.
3. Files and folders can be dragged and placed into this section from the Finder. This will create an icon that can be used to quickly open the file or folder. To remove the icon just drag it off of the Dock.
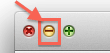
4. Windows can also be placed into the Dock. To reduce an open window click the yellow circle with the “-” in the upper left corner of the window. The window will be hidden from view and placed in the Dock.
5. To restore the window click its icon.
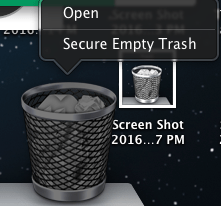
Trash
At the extreme end of the Dock is the Trash icon.
1. All the deleted files and folders will be placed in the Trash.
2. The Trash can be emptied when you want.
3. To make the Trash empty, right-click on the mouse or apply Control + Click on the Trash icon, select ‘Empty Trash’ option that empties the content present in the Trash.
- You May Also Like: 8 Best Ways to Improve Mac performance and Speed
- 3 Best Ways to find an IP on a Mac
Customizing dock
The customization can be applied to the Dock and you can have several options that can be used to make the Dock behave exactly how you want.
1. From the top menu bar, select apple menu by clicking on the apple icon.
2. Choose ‘System Preferences’ from the options available.
3. System Preferences window will open and choose the ‘Dock’ under the Personal category.

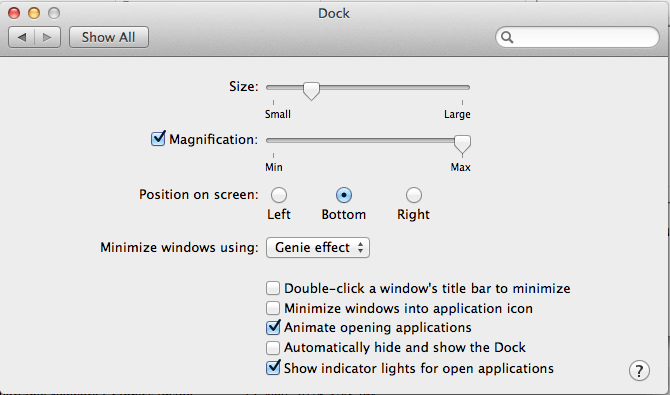
4. The Dock window will appear as shown below.
- You May Like : Apple Mac OS X Keyboard shortcuts every one must know
- How to resize image on Mac with preview application
If this tutorial about Mac Dock helped you, please share it and follow us on social media please like us on Facebook or Twitter. Subscribe to WhatVwant channel on YouTube for regular updates.