
Want to add a page break in MS Word and Microsoft 365 Word? Do you know how to add page break? This tutorial will tell you How to Add Page Break in MS Word and Microsoft 365 Word. Even though we are using MS word regularly in our day to day life we still have some minor doubts regarding it and one of them which was put forwarded by my colleague is How to add a page break in MS Word and some may don’t know how to use word options in Microsoft 365. Let’s have a brief discussion on this topic.
The foremost way to add a page break in MS Word is as follows:
let us illustrate with an example with the following document in the form of steps.
- Related: How to remove page number from the first page on Word document
- How to add number format to Word document
1. How to add page break in Microsoft 365 Word document?
Video tutorial:
For our reader’s convenience, we provided this tutorial in the form of video. If you are willing to watch video then click on it otherwise skip this video and continue reading.
Now a days Microsoft word and other Microsoft apps are replaced by Office 365 suite. In this tutorial, we are going to see how to add a page break in the Word document of Office 365 suite.
Total Time: 3 minutes
Step 1: Open the document in Word
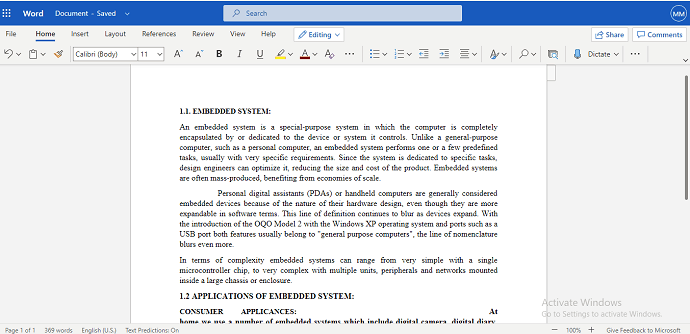
The first thing you need to do is, open or create word document in Microsoft 365 in which you want to add page break.
Step 2: Place the cursor where you want to add page break
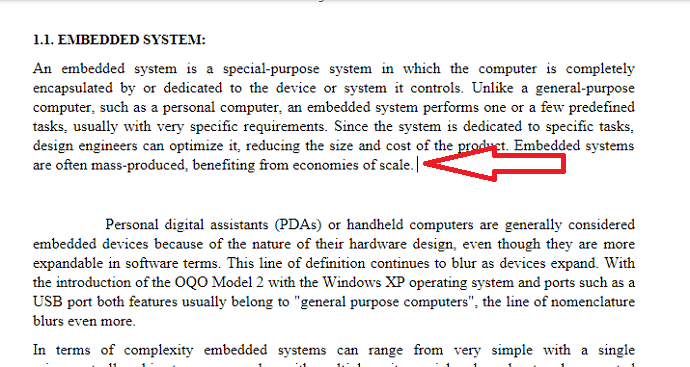
Now, in that selected document place the cursor in a particular place where you need to add page break.
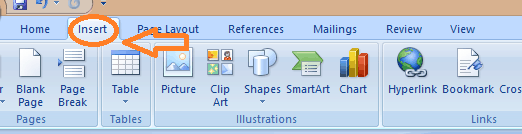
Step 3: Click on Insert option from menu

After placing the cursor in the required place, go to the menu bar in Word. In the menu, you can see various options for making the document more professional and stylish. Click on the Insert option which is present at the 3rd place of the menu bar of the Word in Microsoft 365 as shown in the above image.
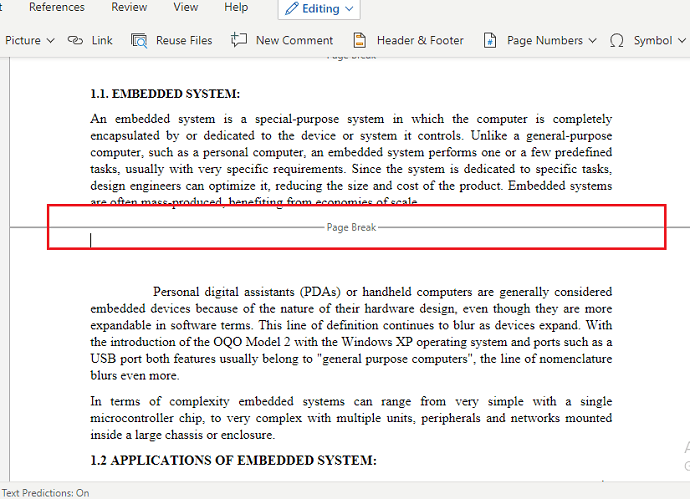
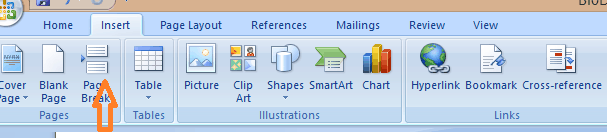
Step 4: Click on Page Break

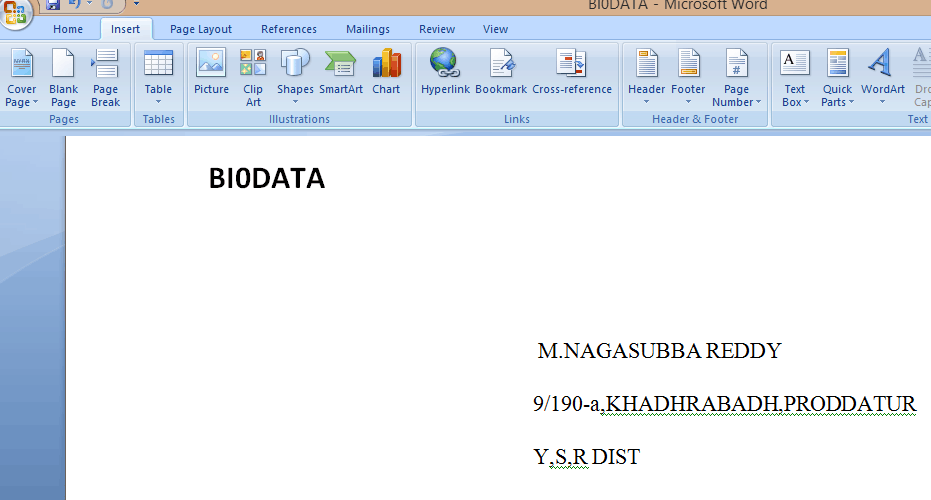
When you click on the Insert option, you can see different options for inserting into the word document. Those are Page Break, Table, Picture, Link, etc. From those options click on the Page Break option as shown in the above image. Then the page break is added as shown in the below image.
This is the procedure for adding Page Break in the Word document of Microsoft 365.
2. How to Add Page Break in Older version MS Word?
Note: It is not recommended to use the older version of word. We recommend buying Microsoft 365 for the best features.
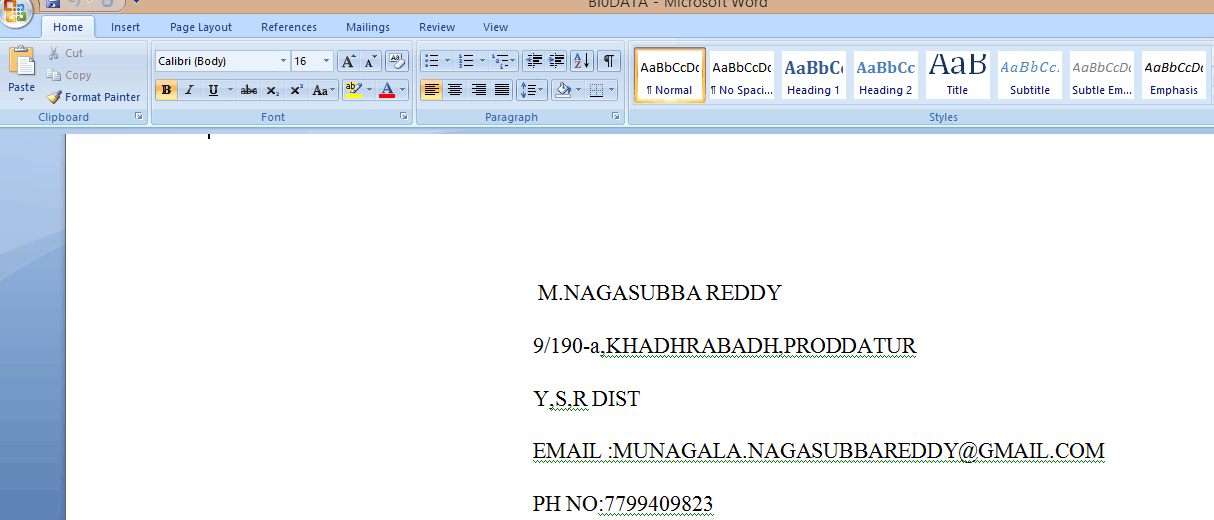
Step 1: Open or create a word document with some text content say…..
Step 2: Place the cursor at that point from where the page is intended to be divided say…..

Step 3: Now go to the Menu bar and click on the Insert menu and you will be seeing the following options.
Step 4: Now you can see an insert menu icons and the Page Break is available right under it, click on that page break option.
Step 5: The changes can be identified as follows:

Now you can observe that the Page Brake changes have been applied to the following document… Apart from this the Page Break also provides the following options which are quite useful in MS Word such as …
A). Column Break:
Likewise, the Page Break the column break is used to split the text into the required columns with the help of this we can stop the automatic flow of text and have our own column breaks by which we can have more control over the text document.
For using the column breaks the following steps are used:
Step 1: Keep the cursor where the column break is to be intended.
Step 2: Click the Page Layout menu then you will find the breaks option and then select the column option.
Step 3: The intended changes will be made.
B). Continous Break :
It is used to create a single continuous section until you make any page break it makes numbering easy for the document.
For using the Continous break the following steps are used:
Step 1: Keep the cursor where you need the section to be started.
Step 2: Click the Page Layout menu and then select the breaks option and press the continuous break option which appears to the bottom.
Step 3: The intended changes will be made.
C). Even and Odd Page Breaks:
This type of page breaks mainly operates on the basis of the numbering of pages, if you are using the Even page break the section takes you to the next Even page and likewise, the odd page breaks too …
Step 1: Keep the cursor where you need the section to be started.
Step 2: Click the Page Layout menu and then select the brakes option and precise the Even page or Odd page break option which appears to the bottom.
Step 3: The intended changes will be made
D). Text Wrapping :
The pictures in the document enhance the visuality and create interest to the readers the Text reader is an option which is used to write a caption on the pictures.
E). Next page :
It works the same as the Page Break.
Conclusion:
That’s all guys it is as simple as you see …. just follow the above-given steps which make you to utilize the MS Word effectively and efficiently ….. Hope it is useful …….
Once again we recommend to buy Microsoft 365. Because it gives you many features.
Thank you and Catch you later with another article.
You Might Like: How to change Word document background color
5 Free methods to convert Word to PDF with Hyperlinks
I hope you like this article about How to Add Page Break in MS Word. If you like it, do me a favor by sharing it with your friends. Please follow whatvwant on Facebook and Twitter. Subscribe to whatVwant channel on YouTube for regular updates.