
Want to transfer files from iPhone to Windows, but don’t know how? Looking for the best methods to transfer files from iPhone to Windows and vice-versa. Then this article is the right place for you and this will help you to transfer files from iPhone to Windows and from windows to iPhone very easily.
In this article, we included all the possible methods only after trying each of them. So, you can use the methods discussed here without any doubt and they perform really well. The main aim of this article is to make the readers aware of all the possible methods to perform the transfer process.
- READ MORE – 7 Best Ways to Transfer Files From PC to PC
- 5 Free Ways to Transfer Files From Android To Mac
How To Transfer Files From iPhone To Windows
1. Windows Explorer
This is the most commonly known and used method to transfer files from iPhone to Windows. To perform this method, you need to connect the iPhone to windows using the USB cable and the rest of the steps are as follows.
How To Transfer Files From iPhone To Windows using Windows Explorer
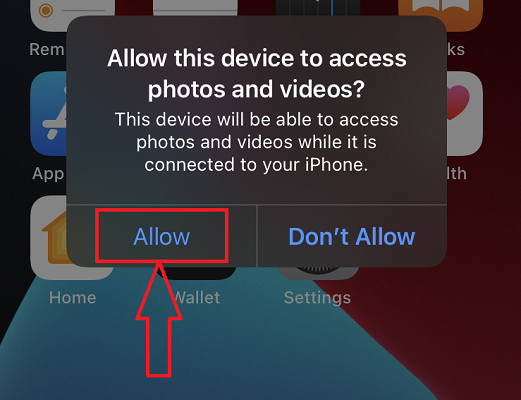
- Firstly, Connect your iPhone to the Windows using the lightning cable and allow the permission in your iPhone(If asks).
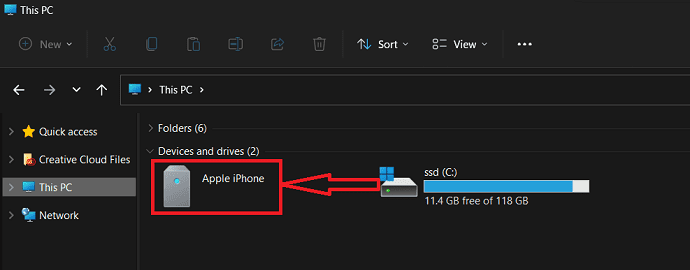
- Launch the Windows File Explorer on your Windows and there you will find the iPhone storage.
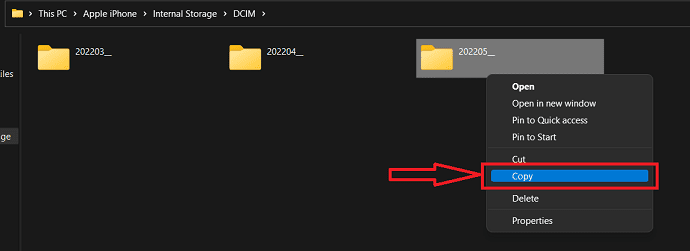
- Browse the files available on the iPhone storage from the explorer and select the files to transfer. Right-click on selected files to open the options list. Choose the “Copy” option from that list.
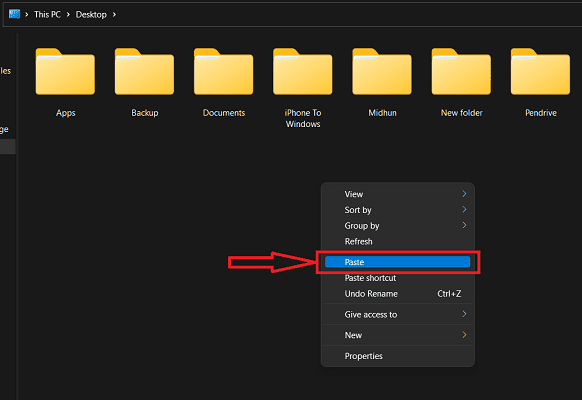
- Now go to the destination folder in your windows, to where you want to transfer the files. Right-click and select the “Paste” option from the options list. That’s it, files start to transfer from iPhone to Windows.
- Likewise, to transfer files from Windows to iPhone, you need to copy the files from the windows and move to the storage of the iPhone and paste them there.
- READ MORE – How to Transfer files from PC to Mac (With Pictures)?
- How To Transfer Files From PC To iPhone Without iTunes?
2. iMazing
iMazing is a premium device management tool that helps users to perform various operations like transfer, backup, and much more. This is compatible with both Windows and macOS platforms. This made the iMazing in gaining a huge user base across the globe. Its simple user interface makes the users to work smoothly. This will help you to transfer files from iPhone to Windows using a Wired connection and as well as a wireless connection. To perform a wireless transfer, you need to connect both devices to the same internet/Wi-Fi connection.
Highlights of iMazing
- Easy-To-Use
- Install iOS updates from the software
- Automatic and Manual Backups
- Powerful Performance
Pricing
iMazing provides its services in two different versions, such as Personal and Business. The prices of all the two versions are listed below
- Personal
- Device License
- 1 Device – ₹2,700
- 2 Devices – ₹3,500
- 3 Devices – ₹4,000
- 5 Devices – ₹5,500
- 10 Devices – ₹10,000
- Unlimited Devices – ₹3,500/Year
- Device License
- Business
- Business – ₹4,000/seat per year
- Configurator (macOS only) – ₹28,000/sear per year
- CLI – ₹20,000/seat per year
- Custom Licensing
How To Transfer Files From iPhone To Windows using iMazing
In This section, I will show you the step-by-step procedure involved in transferring files from iPhone to Windows and from Windows to iPhone.
Total Time: 5 minutes
STEP-1: Download the iMazing Application
Visit the official site of iMazing and download the latest version of an application to your Windows PC/laptop.
STEP-2: Launch and Connect iPhone
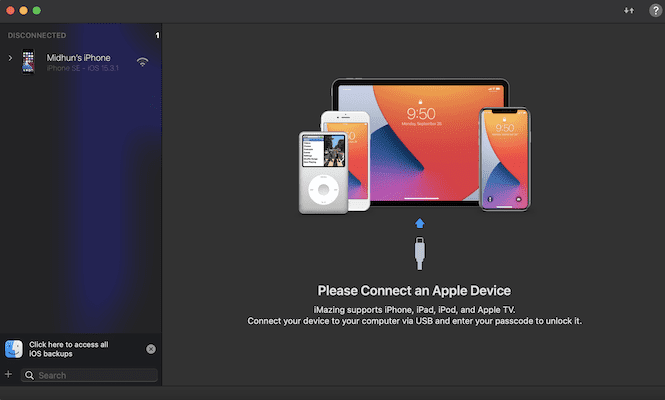
Install and launch the iMazing application on your windows system. Then it asks you to connect the iPhone as soon as launching the application. Connect your iPhone to the computer using the lightning/USB-C cable.
STEP-3: Choose the export option
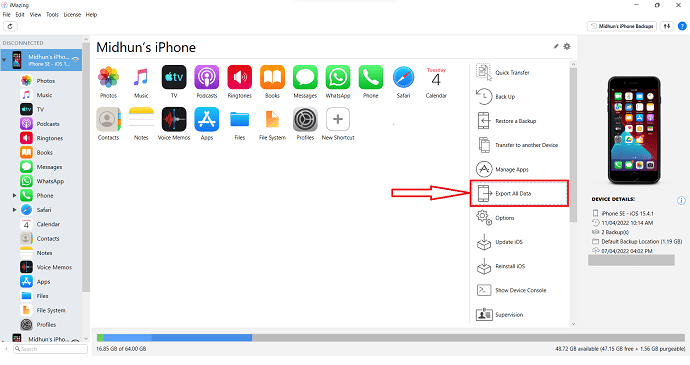
After connecting the iPhone to the computer, you will find the interface with all the features as displayed in the screenshot. Click on the “Export All Data” option.
STEP-4: Choose Data to Transfer
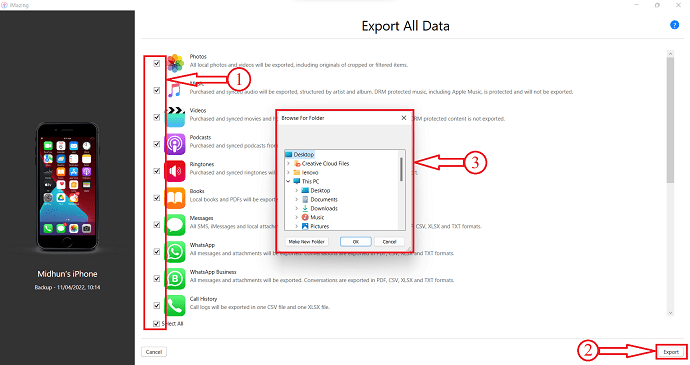
It redirects you to a page and there you will find various data options. Select the required data to transfer by checking in the boxes. Later, click on the “Export” option available at the bottom right corner. Then a small window will pop up. Choose the destination location from that window to transfer files from iPhone to Windows.
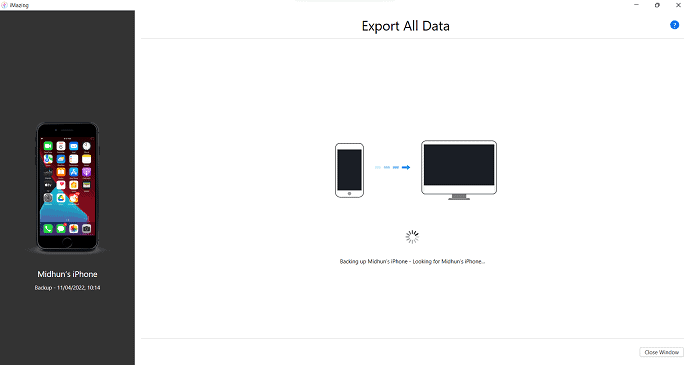
STEP-5: Transfer Status
Then the transfer process starts and the status will be seen as shown in the screenshot. And after the completion of the transfer process, you will get a notification. This is how you can transfer files from iPhone to Windows using iMazing.
- READ MORE – 8 Best Ways to Transfer Photos From iPhone To iPhone
- 6 Best Ways To Transfer iPhone Photos To PC (Windows)
3. EaseUS MobiMover
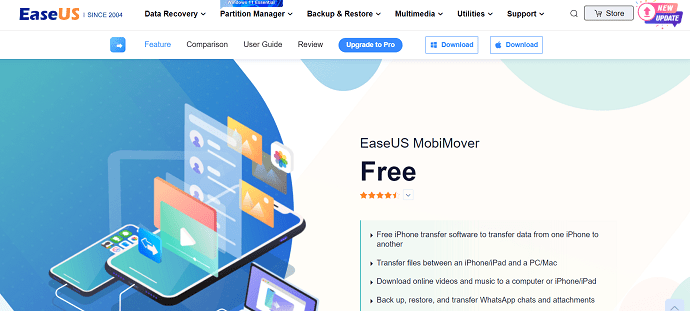
EaseUS MobiMover is an application that helps in transferring the files and media like photos, music, videos, etc., from one device to another. This allows transferring files from one iPhone to another and from iPhone to Windows or Mac. EaseUS MobiMover allows you to backup, restore, and transfer WhatsApp Chats and attachments. You can also convert HEIC to JPG and video to MP3 files. This is a free application and is compatible with both Windows and macOS platforms.
Highlights of EaseUS MobiMover
- Free To Download
- Allows to convert HEIC to JPG and Videos to music
- Backup and Restore iPhone
- Compatible with both Windows and macOS platforms
- Supports macOS 11.5 Beta – 10.13
Pricing
EaseUS MobiMover is available for FREE to Download.
How To Transfer Files From iPhone To Windows Free using EaseUS MobiMover
- STEP-1: Firstly, go to the official site of EaseUS and find the MobiMover application. It is available for both Windows and macOS. Download the application according to your operating system.
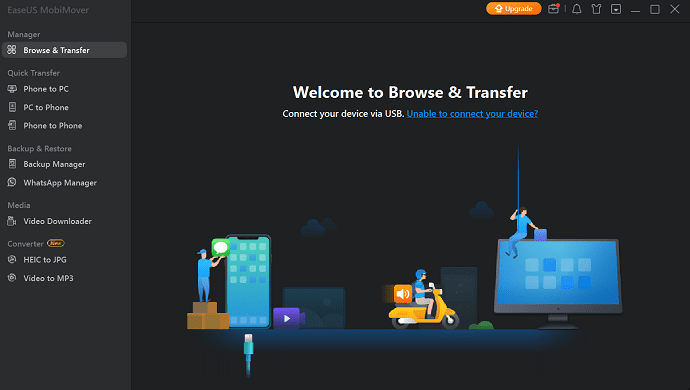
- STEP-2: Install and launch the application on your Windows PC/laptop. Then you will find the interface as shown in the screenshot. It notified you to connect your iPhone.
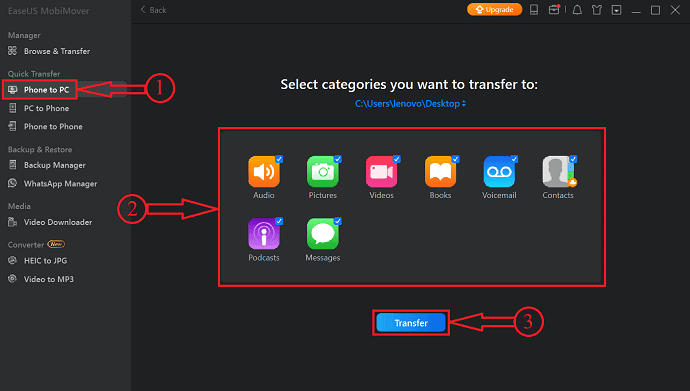
- STEP-3: Connect your iPhone and move to the Phone to PC option available under the Quick Transfer section. Then it shows all the categories available to transfer. Choose the categories and click on “Transfer”.
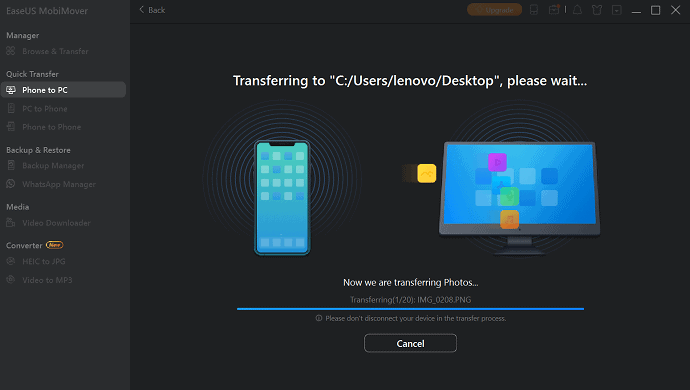
- STEP-4: It starts to transfer the selected files from iPhone to windows. The transfer time depends on the size of the files.
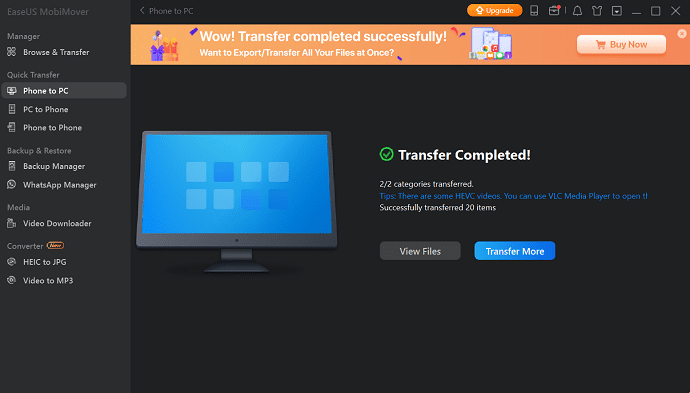
- STEP-5: After the completion of the transfer process, it notifies you as successfully Transferred. This is how you can easily transfer files from iPhone To Windows. Likewise, by choosing the Pc to Phone option, you can also transfer files from Windows to iPhone.
- READ MORE – 4 Best Ways To Backup iPhone To PC(Windows)
- How To Transfer Contacts From iPhone To iPhone – 7 Best Methods
4. iCloud
iCloud is the cloud platform available for Apple users similar to Google Drive which is available for Android users. This comes as inbuilt cloud storage with a capacity of 5GB for an Apple ID. All the photos, videos, documents, etc., can be synced to this iCloud storage and can be accessed from anywhere just by signing in to the Apple account associated to it.
Highlights of iCloud
- Safe and Secure
- Available for free with Apple ID
- Automatically syncs your data
- Can be accessed from anywhere and at any time
Pricing
iCloud is completely free to use.
How To Transfer Files From iPhone To Windows using iCloud
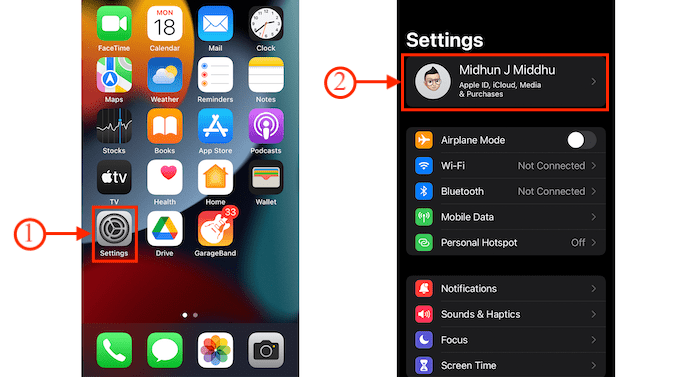
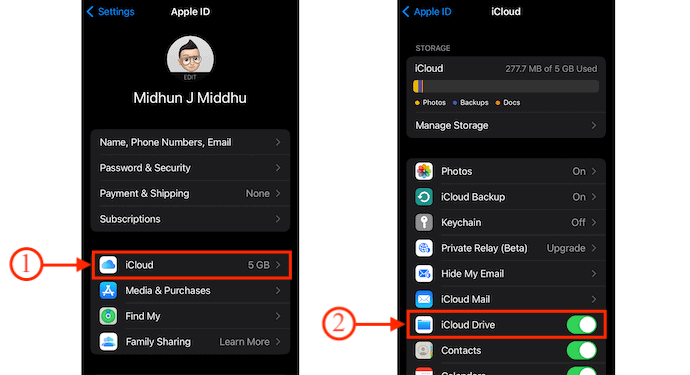
- Go to Settings on your iPhone and click on the “Profile” option available at the top of the settings.
- There you will find the “iCloud” option, tap on it. Then you will find various categories as shown in the screenshot. Turn ON all the categories that you want to sync to iCloud Drive.
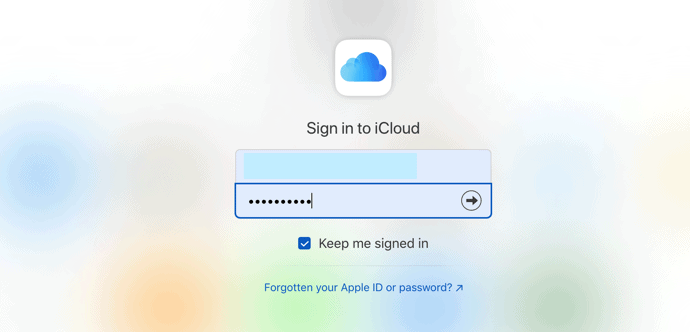
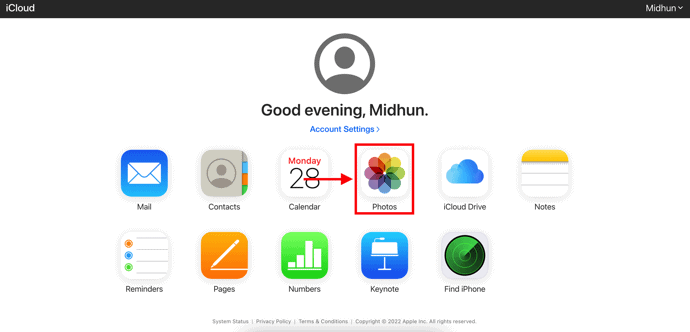
- Now, visit the official site of iCloud and log in using Apple credentials. There, you will find the options as displayed in the screenshot.
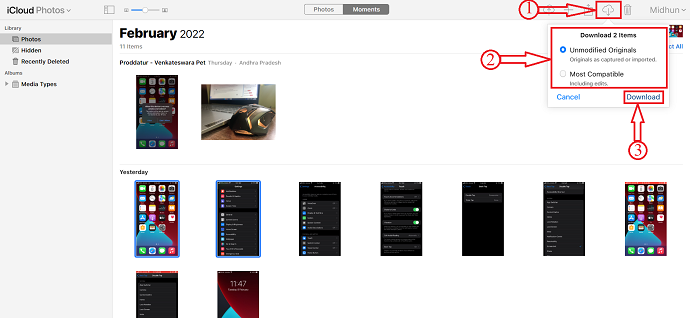
- Choose the type that you want to download. Here, I’m choosing the “Photos” category to transfer from iPhone to Windows.
- Choose the Photos by clicking on each photo or else, choose all by using the keyboard shortcut – “CTRL/CMD +A”. Later, click on the “Download” option by clicking on the icon available at the top right corner. Then it shows two options, such as Unmodified Originals and Most Compatible. Choose one and later, click on “Download”.
- That’s it, this is how you can easily transfer files from iPhone to Windows, and similarly using the import option, you can transfer files from Windows to iPhone.
- READ MORE – 3 Ways to Import Google Contacts to Phone(Android & iPhone)
- IOTransfer 4 Review: A Better Way To Manage Your iPhone or iPad
5. Snapdrop

Snapdrop is a tool that helps you to transfer files between the devices that are connected to the same network. It is available in both web and app versions. This is a free-to-use tool to transfer files from iPhone to Windows, Android to Windows, and Vice-Versa. As this is available in the web version, you can use this regarless of storage issue on your device.
Highlights of Snapdrop
- Easy-to-use
- Available in Web and App versions
- 100% Free
- Transfer files at a very faster rate
Pricing
Snapdrop is an Open-source tool and is available in App and Web versions.
How To Transfer Files From iPhone To Windows using Snapdrop
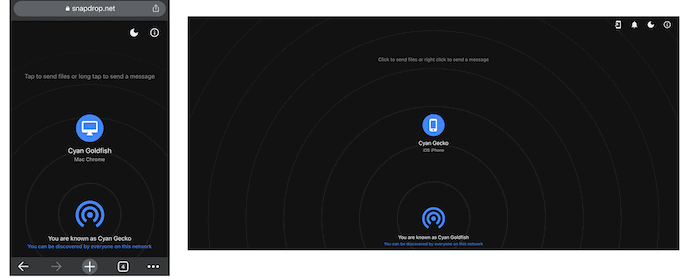
- Firstly, Visit the Official site of Snapdrop on iPhone and Windows PC using any web browser. Then you will find the interface as shown in the screenshot.

- Then you will find your device and the other devices available in your network that are ready to transfer files.
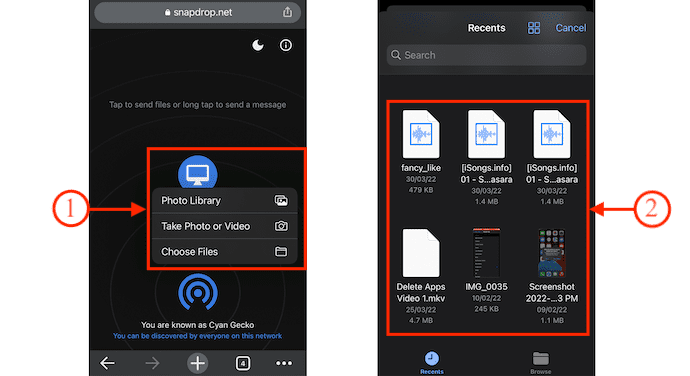
- Choose the device from the iPhone and then it shows three options, such as Photo Library, Take Photo or Video, and Choose Files. Here, I’m selecting the “Choose Files” option by tapping on it. Then it takes you to a page from where you can select the files to transfer.
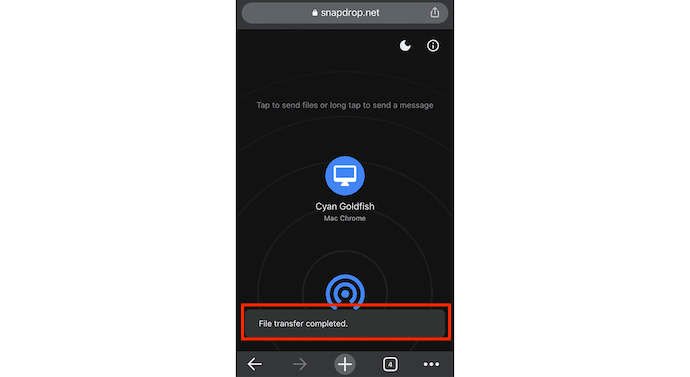
- The transfer process starts as soon as you select the files. Later, after the completion of the transfer process, you will find a message as “File Transfer Completed”.
- Likewise, you can transfer files from Windows to iPhone and Android Devices.
- READ MORE – 15 Must-have iPhone Apps That You Need to Try
- How to Send ColorNote Notepad notes to iPhone & PC from Android?
Conclusion
Transfer of files from one device to another is a very common process and users are looking for best handy methods. With the increase in technology, wired transfer transformed into wireless transfer which is a considered as a good thing. So, we provided the both wired and wireless methods that helps the users to transfer files from iPhone to Windows and vice-versa. If you want to transfer files of larger size, then we recommend to use the wired method as it transfers data at a faster rate compared to wireless. One more thing about the wireless transfer is that it uses your internet/Wi-Fi, so try to avoid a wireless transfer if you are using limited data packs.
There is a software that will help you to transfer files from iPhone to windows both Wirely and wirelessly. It is none other than iMazing. This is the finest and safest software that helps you in transferring the files of any size. So, we recommend making iMazing your first choice.
I hope this tutorial helped you to know How to Transfer Files From iPhone To Windows. If you want to say anything, let us know through the comment sections. If you like this article, please share it and follow WhatVwant on Facebook, Twitter, and YouTube for more Technical tips.
- READ MORE – How to recover deleted files from Windows, Mac, iPhone, USB, etc.,
- What Are Some Neat Things We Can Expect in macOS Monterey?
How To Transfer Files From iPhone To Windows – FAQs
Can I AirDrop to a PC?
AirDrop only works on Mac, iPhones, and iPads, but similar solutions are available for Windows PCs and Android devices.
Does Apple have a transfer app?
Apple made an Android app called Move To iOS that makes moving your messages, photos, videos, and more from an Android phone to an iPhone easy.
Is Snapdrop safe to use?
Yes, it is. The whole concept is very simple. SnapDrop opens a connection on your local network, which can be discovered by any other devices using that network.
Is SnapDrop fast?
Apart from being platform-agonstic, the best part about Snapdrop is that how fast the transfer is despite having high-grades TLS encryption. Images and files ranging from 4-5MB in size are sent in a flash.
Is Snapdrop open source?
Snapdrop for Android is Android™️ client for the free and open source local file sharing solution.